THE BATTLE OF BLACK JACK
Use this arrow to learn more at each stop.
This tour was underwritten by the Institute of Museum & Library Services.

Created by The Black Jack Battlefield Trust.
This walking tour will guide you through the Battle of Black Jack Battlefield and Nature Park, located at 163 E 2000 Rd, Wellsville, KS 66092. Each stop is marked by a numbered wooden stake.
DIRECTIONSOnce you arrive at the location, scroll down to begin the tour.
Previous slide
Next slide
Stop 1
Robert Hall Pearson Memorial Park
DIRECTIONSRobert Hall Pearson Memorial Park
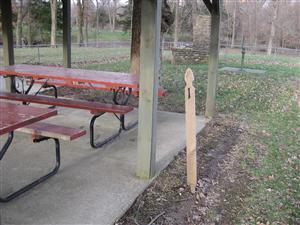
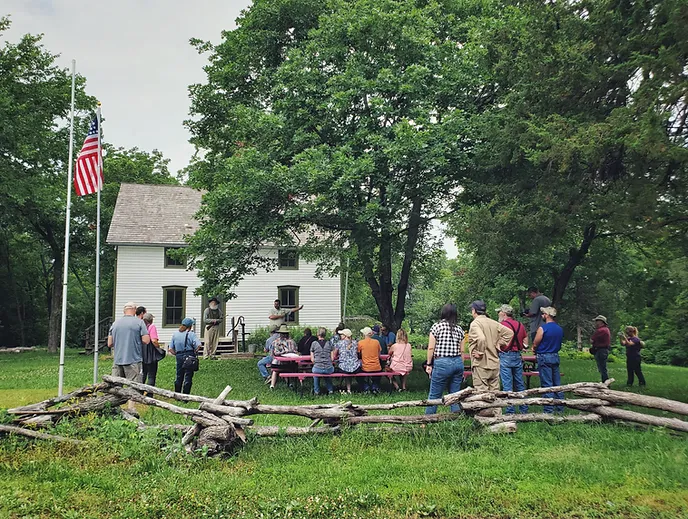
Robert Hall Pearson lived in the area and joined John Brown's band to fight against the pro-slavery men led by Henry Clay Pate. He would later purchase the land that included the battlefield and build the house that stands up the hill from the battlefield.
Previous slide
Next slide
Stop 2
Sugar Maple Grove
DIRECTIONSSugar Maple Grove
This stop is just to the left (south) of the fenced-in picnic area.
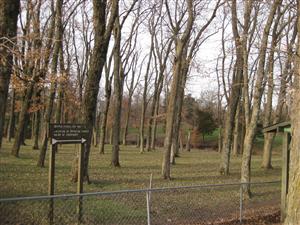
This stop has little to do with the fighting that took place in 1856 but is a stand of sugar maple trees planted by Pearson after he purchased this land.
Previous slide
Next slide
Stop 3
Wagon Ruts
DIRECTIONSWagon Ruts
Follow the path a few yards down the hill.
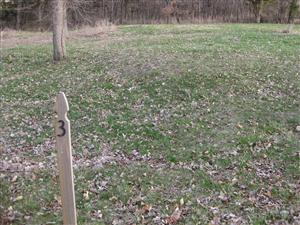
The Santa Fe Trail passed through here and you can see the remains of the ruts cut by the many wagons that passed this way.

Walk due north from the stake to the ruts and then follow them down the hill to where they crossed Captains Creek.
Previous slide
Next slide
Stop 4
Captains Creek
DIRECTIONSCaptains Creek
Walk over to the footbridge over the east branch of Captains Creek.
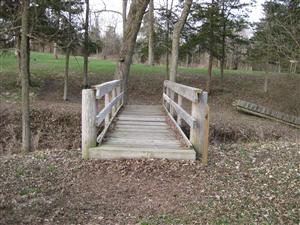
This area where the two branches of Captains Creek was frequently used as a campground by travelers on the Santa Fe Trail. Pate and his band of pro-slavery men were camping here when they were attacked by John Brown and his free-state militia.
Previous slide
Next slide
Stop 5
John Brown's Position
DIRECTIONSJohn Brown's Position
Walk up the hill to the right, past the #9 stake.
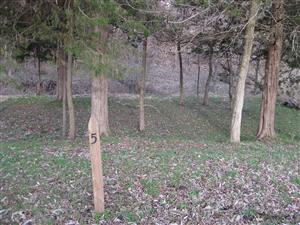
You will reach the position that John Brown's men took along the west branch of Captains Creek. Look due east and you should be able to pick out the marker for Pate's position about 50 out. This spot was a strong position that provided a lot of natural cover.
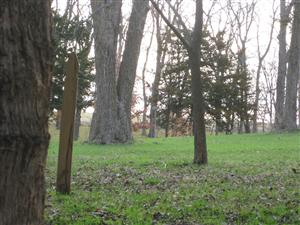
Walk down the hill towards the creek and look back towards Pate's position. The sharp drop provided protection to Brown's men from the fire by Pate's men.
Previous slide
Next slide
Stop 6
Pate's Position
DIRECTIONSPate's Position
Walk across the battlefield to this tour stop.
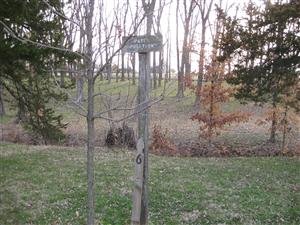

Pate and his band of about 75 Shannon's Sharpshooters were camped on the east side of Captains Creek while they raided free-state settlements. When attacked by Brown's force, they began fighting from a position east of the creek before moving down to this position along the creek.
Previous slide
Next slide
Stop 7
Killing the Horses and the Mules
DIRECTIONSKilling the Horses and the Mules
Walk up the hill towards the house to stop number 7.
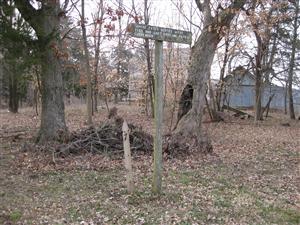
During the fighting, John Brown directed a group of free-state militia under the command of Captain Samuel T. Shore to shoot at and try and kill Pate's horses to prevent their escape. This is the spot from which Shore's men started shooting at the horses and mules, which were most likely located on the east side of the creek.
Previous slide
Next slide
Stop 8
Frederick Brown's Ruse
DIRECTIONSFrederick Brown's Ruse
Walk down the hill towards the center of the open area of the battlefield to stop number 8.
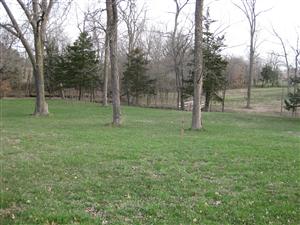
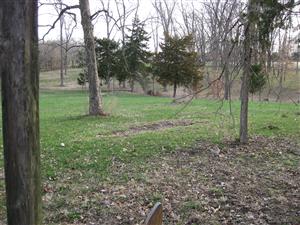
After a few hours of fighting, both sides were running low on ammunition. Lack of ammunition forced many of the free-state men to withdraw from the battlefield. Brown was down to about 12 men. John Brown's son, Frederick, grabbed a horse and rode around to the south of Pate's position yelling, “Father, we have got them surrounded, and have cut off their communications.” The deception worked, for shortly thereafter, Pate decided to call for a truce.
Previous slide
Next slide
Stop 9
Point of Surrender
DIRECTIONSPoint of Surrender
This tour stop is near the location of Brown's men during the fighting.
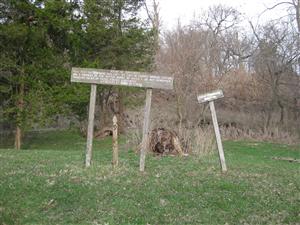
Initially, Pate sent a couple of his subordinates over to parley with the free-state men. John Brown refused to talk terms with the subordinates, however, insisting Pate must enter the negotiations. Pate went over and said that he was a duly appointed representative of the United States government and was searching for individuals for which he had arrest warrants. Brown dismissed all of this, pointed his revolver at Pate, and told him he would accept nothing but his unconditional surrender. Pate chose to surrender. John Brown and his small force ended up with 23 prisoners.
Previous slide
Next slide
Stop 10
The Robert Hall Pearson House
DIRECTIONSThe Robert Hall Pearson House
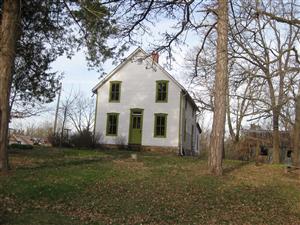
As you end your tour, you can walk up the hill to the house that Pearson would later build on this farm during the 1880s.
Previous slide
Next slide